How to Clean a Checking Fixture
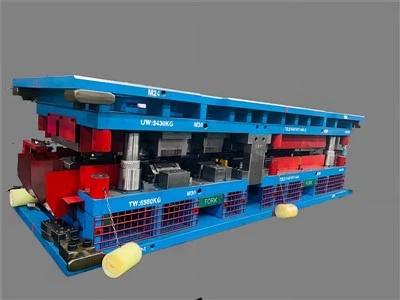
As a well - established checking fixture supplier, I understand the crucial role that a clean checking fixture plays in ensuring accurate measurements and reliable performance. A checking fixture is a specialized tool used in manufacturing to verify the dimensional accuracy of a part. Over time, however, these fixtures can accumulate dirt, debris, and even contaminants that may compromise their functionality. In this blog post, I will share some comprehensive guidelines on how to clean a checking fixture effectively.
Understanding the Importance of Cleaning
Before delving into the cleaning process, it's essential to recognize why cleaning a checking fixture is so important. A dirty checking fixture can lead to inaccurate measurements, which in turn can result in defective parts. These inaccuracies can cost a manufacturing company a significant amount of money in terms of rework, scrap, and potential customer dissatisfaction. Additionally, regular cleaning helps to extend the lifespan of the checking fixture, reducing the need for frequent replacements.
Preparation for Cleaning
The first step in cleaning a checking fixture is to gather all the necessary tools and materials. You will need a soft - bristle brush, lint - free cloths, a suitable cleaning solution, and safety equipment such as gloves and goggles. It's also important to have a clean, well - lit workspace where you can carry out the cleaning process without any distractions.
Before you start cleaning, carefully review the manufacturer's instructions for the checking fixture. Some fixtures may have specific cleaning requirements or restrictions. For example, certain materials used in the fixture may be sensitive to particular cleaning agents.
Disassembly (if required)
In some cases, it may be necessary to disassemble the checking fixture to clean it thoroughly. This is especially true for fixtures with complex designs or hard - to - reach areas. When disassembling the fixture, make sure to keep track of all the parts and their positions. You can use a parts tray or a labeled container to organize the components. This will make reassembly much easier and prevent any parts from getting lost.
Cleaning the Surface
Once the fixture is ready, start by removing any loose dirt and debris from the surface. You can use a soft - bristle brush to gently sweep away the particles. Be careful not to scratch the surface of the fixture, as this can affect its accuracy.
Next, dampen a lint - free cloth with the appropriate cleaning solution. There are various cleaning solutions available in the market, and the choice depends on the type of dirt and the material of the fixture. For general cleaning, a mild detergent mixed with water can be effective. However, if the fixture has oil or grease stains, a degreaser may be required.

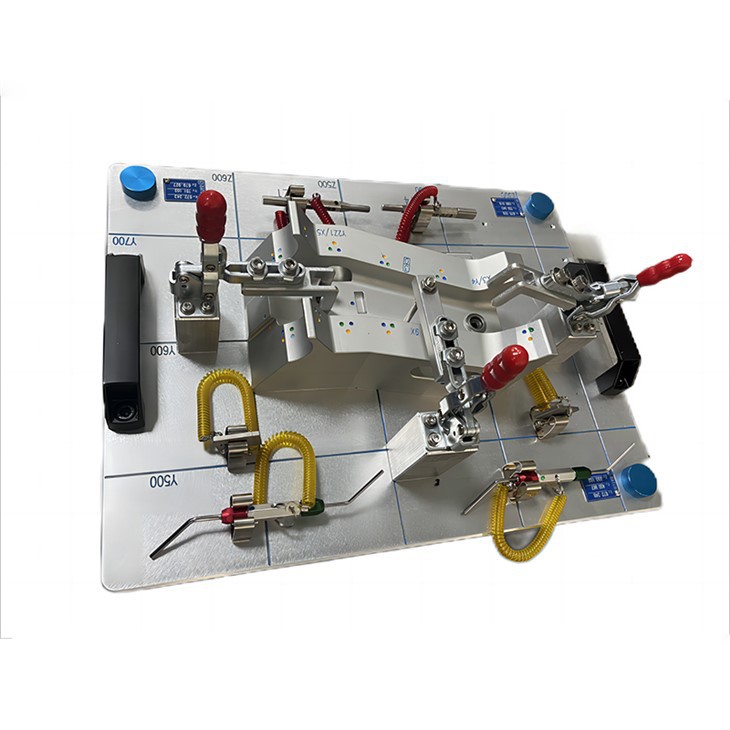
Wipe the surface of the fixture with the damp cloth, applying gentle pressure. Pay special attention to areas where dirt tends to accumulate, such as corners and edges. If there are stubborn stains, you can use a small amount of the cleaning solution directly on the stain and let it sit for a few minutes before wiping it away.
Cleaning the Checking Fixture Components
The components of a checking fixture, such as gauges, pins, and sensors, require special attention. These components are often the most critical parts of the fixture, and any dirt or damage can significantly affect their performance.
For gauges and sensors, use a cleaning solution specifically designed for these delicate components. You can use a cotton swab or a small brush to clean the hard - to - reach areas. Make sure to dry the components thoroughly after cleaning to prevent corrosion.
Pins and other small parts can be soaked in a cleaning solution for a short period to remove dirt and grease. After soaking, rinse them with clean water and dry them with a lint - free cloth.
Cleaning for Different Types of Checking Fixtures
There are different types of checking fixtures, each with its own unique cleaning requirements.
Auto Checking Fixture
Auto checking fixtures are commonly used in the automotive industry to check the dimensions of car parts. These fixtures often have complex mechanical and electronic components. When cleaning an auto checking fixture, it's important to avoid getting water or cleaning solution on the electronic parts. You can use a dry brush to remove dust from the electronic components and a specialized electronic cleaner to clean the contacts.
Jig Checking Fixture
Jig checking fixtures are used to hold and position parts during the manufacturing process. These fixtures may have a lot of moving parts and tight spaces. To clean a jig checking fixture, you may need to use compressed air to blow out any dirt from the small gaps. You can also use a flexible brush to reach the internal parts of the jig.
Drying and Reassembly
After cleaning all the parts of the checking fixture, it's crucial to dry them thoroughly. You can use a clean, dry cloth to wipe away any remaining moisture, or you can let the parts air - dry in a clean environment. Make sure that all the parts are completely dry before reassembling the fixture.
When reassembling the fixture, follow the reverse order of disassembly. Make sure that all the parts are properly aligned and tightened. Check the functionality of the fixture after reassembly to ensure that it is working correctly.
Maintenance and Regular Cleaning Schedule
To keep your checking fixture in optimal condition, it's important to establish a regular cleaning and maintenance schedule. The frequency of cleaning depends on the usage of the fixture. For fixtures that are used frequently, it may be necessary to clean them weekly or bi - weekly. For less - used fixtures, a monthly cleaning may be sufficient.
In addition to regular cleaning, it's also important to perform routine inspections of the checking fixture. Look for any signs of wear and tear, such as loose parts, damaged surfaces, or malfunctioning components. Address any issues promptly to prevent further damage.
Conclusion
Cleaning a checking fixture is a vital part of maintaining its accuracy and reliability. By following the steps outlined in this blog post, you can ensure that your checking fixture is clean and functioning properly. As a checking fixture supplier, I am always available to provide you with more information and guidance on checking fixture cleaning and maintenance.
If you are in the market for a new checking fixture or need further assistance with your existing fixtures, I encourage you to contact me for procurement and in - depth discussions. I am committed to providing high - quality products and excellent customer service.
References
- "Manufacturing Metrology Handbook" by John Doe
- "Checking Fixture Design and Application" by Jane Smith
- Industry standards and guidelines for checking fixture maintenance.