Are there any specific installation instructions for different auto seat parts? You bet there are! As an auto seat parts supplier, I've seen firsthand how important it is for mechanics, DIY enthusiasts, and automotive professionals to have the right know - how when it comes to installing these parts. In this blog, I'll break down some of the common auto seat parts and share the installation instructions for each.
Let's start with the seat frame. The seat frame is the backbone of the car seat, providing structure and support. Before you begin the installation, make sure you have the correct frame for your vehicle's make and model. First things first, you need to remove the old seat frame. This usually involves unbolting the frame from the floor of the car. Most cars have four bolts that hold the seat frame in place. Use a socket wrench to loosen and remove these bolts.
Once the old frame is out, it's time to install the new one. Line up the new seat frame with the bolt holes on the car floor. Make sure it's sitting flat and level. Then, insert the bolts and tighten them using the socket wrench. But don't over - tighten! You want the frame to be secure but not so tight that you damage the threads or the frame itself.
Now, let's talk about the seat cushion. The seat cushion is what provides comfort for the passengers. Installing a seat cushion is a bit more straightforward. If you're replacing a worn - out cushion, start by removing the old one. This might involve unzipping the cover and pulling the cushion out.
When you're ready to install the new cushion, place it in the seat frame. Make sure it fits snugly and conforms to the shape of the frame. Some seat cushions come with straps or hooks that you can use to secure them to the frame. If that's the case, attach the straps or hooks according to the manufacturer's instructions.
Next up is the seat back. The seat back is another crucial part of the car seat as it supports the passenger's back. To install a new seat back, you'll first need to remove the old one. Similar to the seat frame, this typically involves unbolting it from the seat base. Take note of how the old seat back is attached, as different cars may have different attachment mechanisms.
Once the old seat back is removed, position the new one onto the seat base. Align the bolt holes and insert the bolts. Tighten them gradually, making sure the seat back is stable and doesn't wobble. You might also need to connect any electrical components if your seat back has features like heating or reclining.
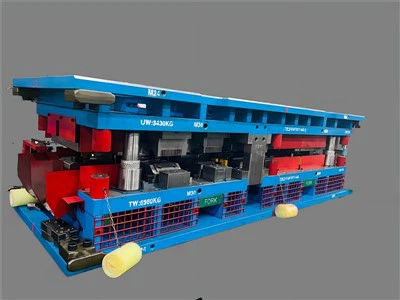
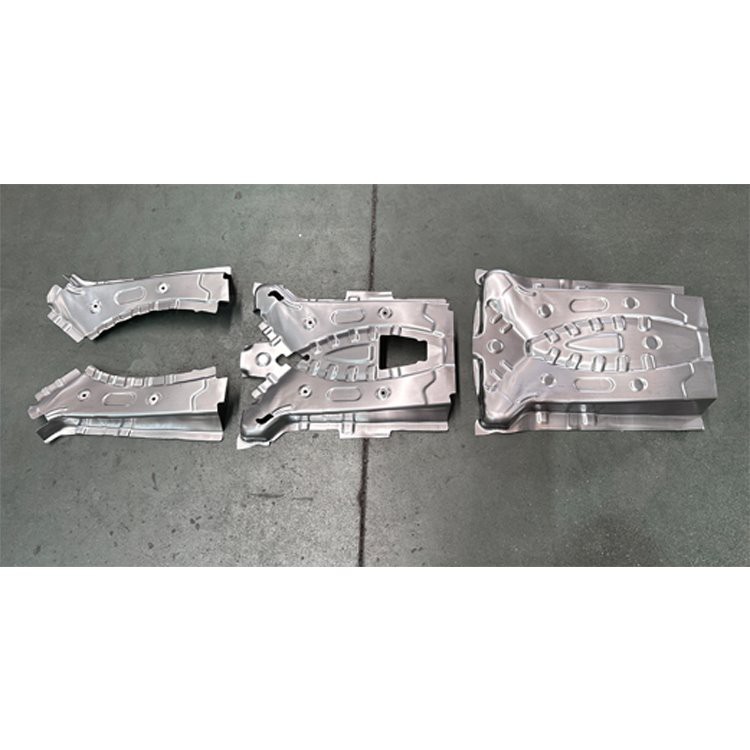
Now, here's where we link to some of the great resources we have. If you're interested in high - quality stamping for your auto seat parts, check out Progressive Die and Stamping. This is a great way to get those precision - made parts that fit perfectly. Also, Casting Progressive Die offers excellent options for more specialized components. And for those looking for custom - made solutions, Custom Stamping Dies is the way to go.
If you're dealing with a seat with power adjustments, the installation gets a bit more complex. Power seats have motors, switches, and wiring that need to be properly connected. Start by disconnecting the negative battery terminal to avoid any electrical shocks. Then, remove the old power seat as you would a regular seat.
When installing the new power seat, connect the wiring harnesses according to the color - coding. Make sure each connection is secure. After that, attach the seat to the floor and tighten the bolts. Once everything is in place, reconnect the negative battery terminal and test the power adjustments to make sure they're working correctly.
Another important part is the seat belt anchor. The seat belt anchor is what keeps the passenger safe by securing the seat belt. Installing a seat belt anchor requires precision. First, locate the mounting points in the car. These are usually pre - drilled holes in the floor or the seat frame.
Insert the seat belt anchor into the mounting points and use the appropriate bolts to secure it. It's super important to follow the manufacturer's torque specifications here. Over - tightening or under - tightening the bolts can affect the effectiveness of the seat belt.

And let's not forget about seat covers. Seat covers not only protect the seats from wear and tear but also add a touch of style to the interior of the car. Installing a seat cover is relatively simple. Slip the cover over the seat and adjust it to fit the shape of the seat. Most seat covers come with elastic bands or straps that you can use to secure them in place.
Now, I know all this might seem a bit overwhelming, especially if you're new to auto seat part installation. But don't worry! We're here to help. As an auto seat parts supplier, we've got a wealth of knowledge and experience. Whether you're a professional mechanic or a DIYer, we can provide you with the right parts and advice.
If you're in the market for high - quality auto seat parts, we're your go - to source. We offer a wide range of products, from seat frames to seat covers, all designed to meet the highest standards of quality and safety. And if you have any questions about installation, our customer service team is just a call or an email away.
So, if you're looking to upgrade your car seats or replace worn - out parts, don't hesitate to reach out. Contact us for a quote and let's start a conversation about your auto seat part needs. We're eager to work with you and make sure you get the best parts for your vehicle.
In conclusion, each auto seat part comes with its own set of installation instructions. Whether it's a simple seat cushion replacement or a complex power seat installation, having the right knowledge and the right parts is key. And as your trusted auto seat parts supplier, we're here every step of the way to support you.
References
- General automotive repair manuals
- Manufacturer's instructions for auto seat parts